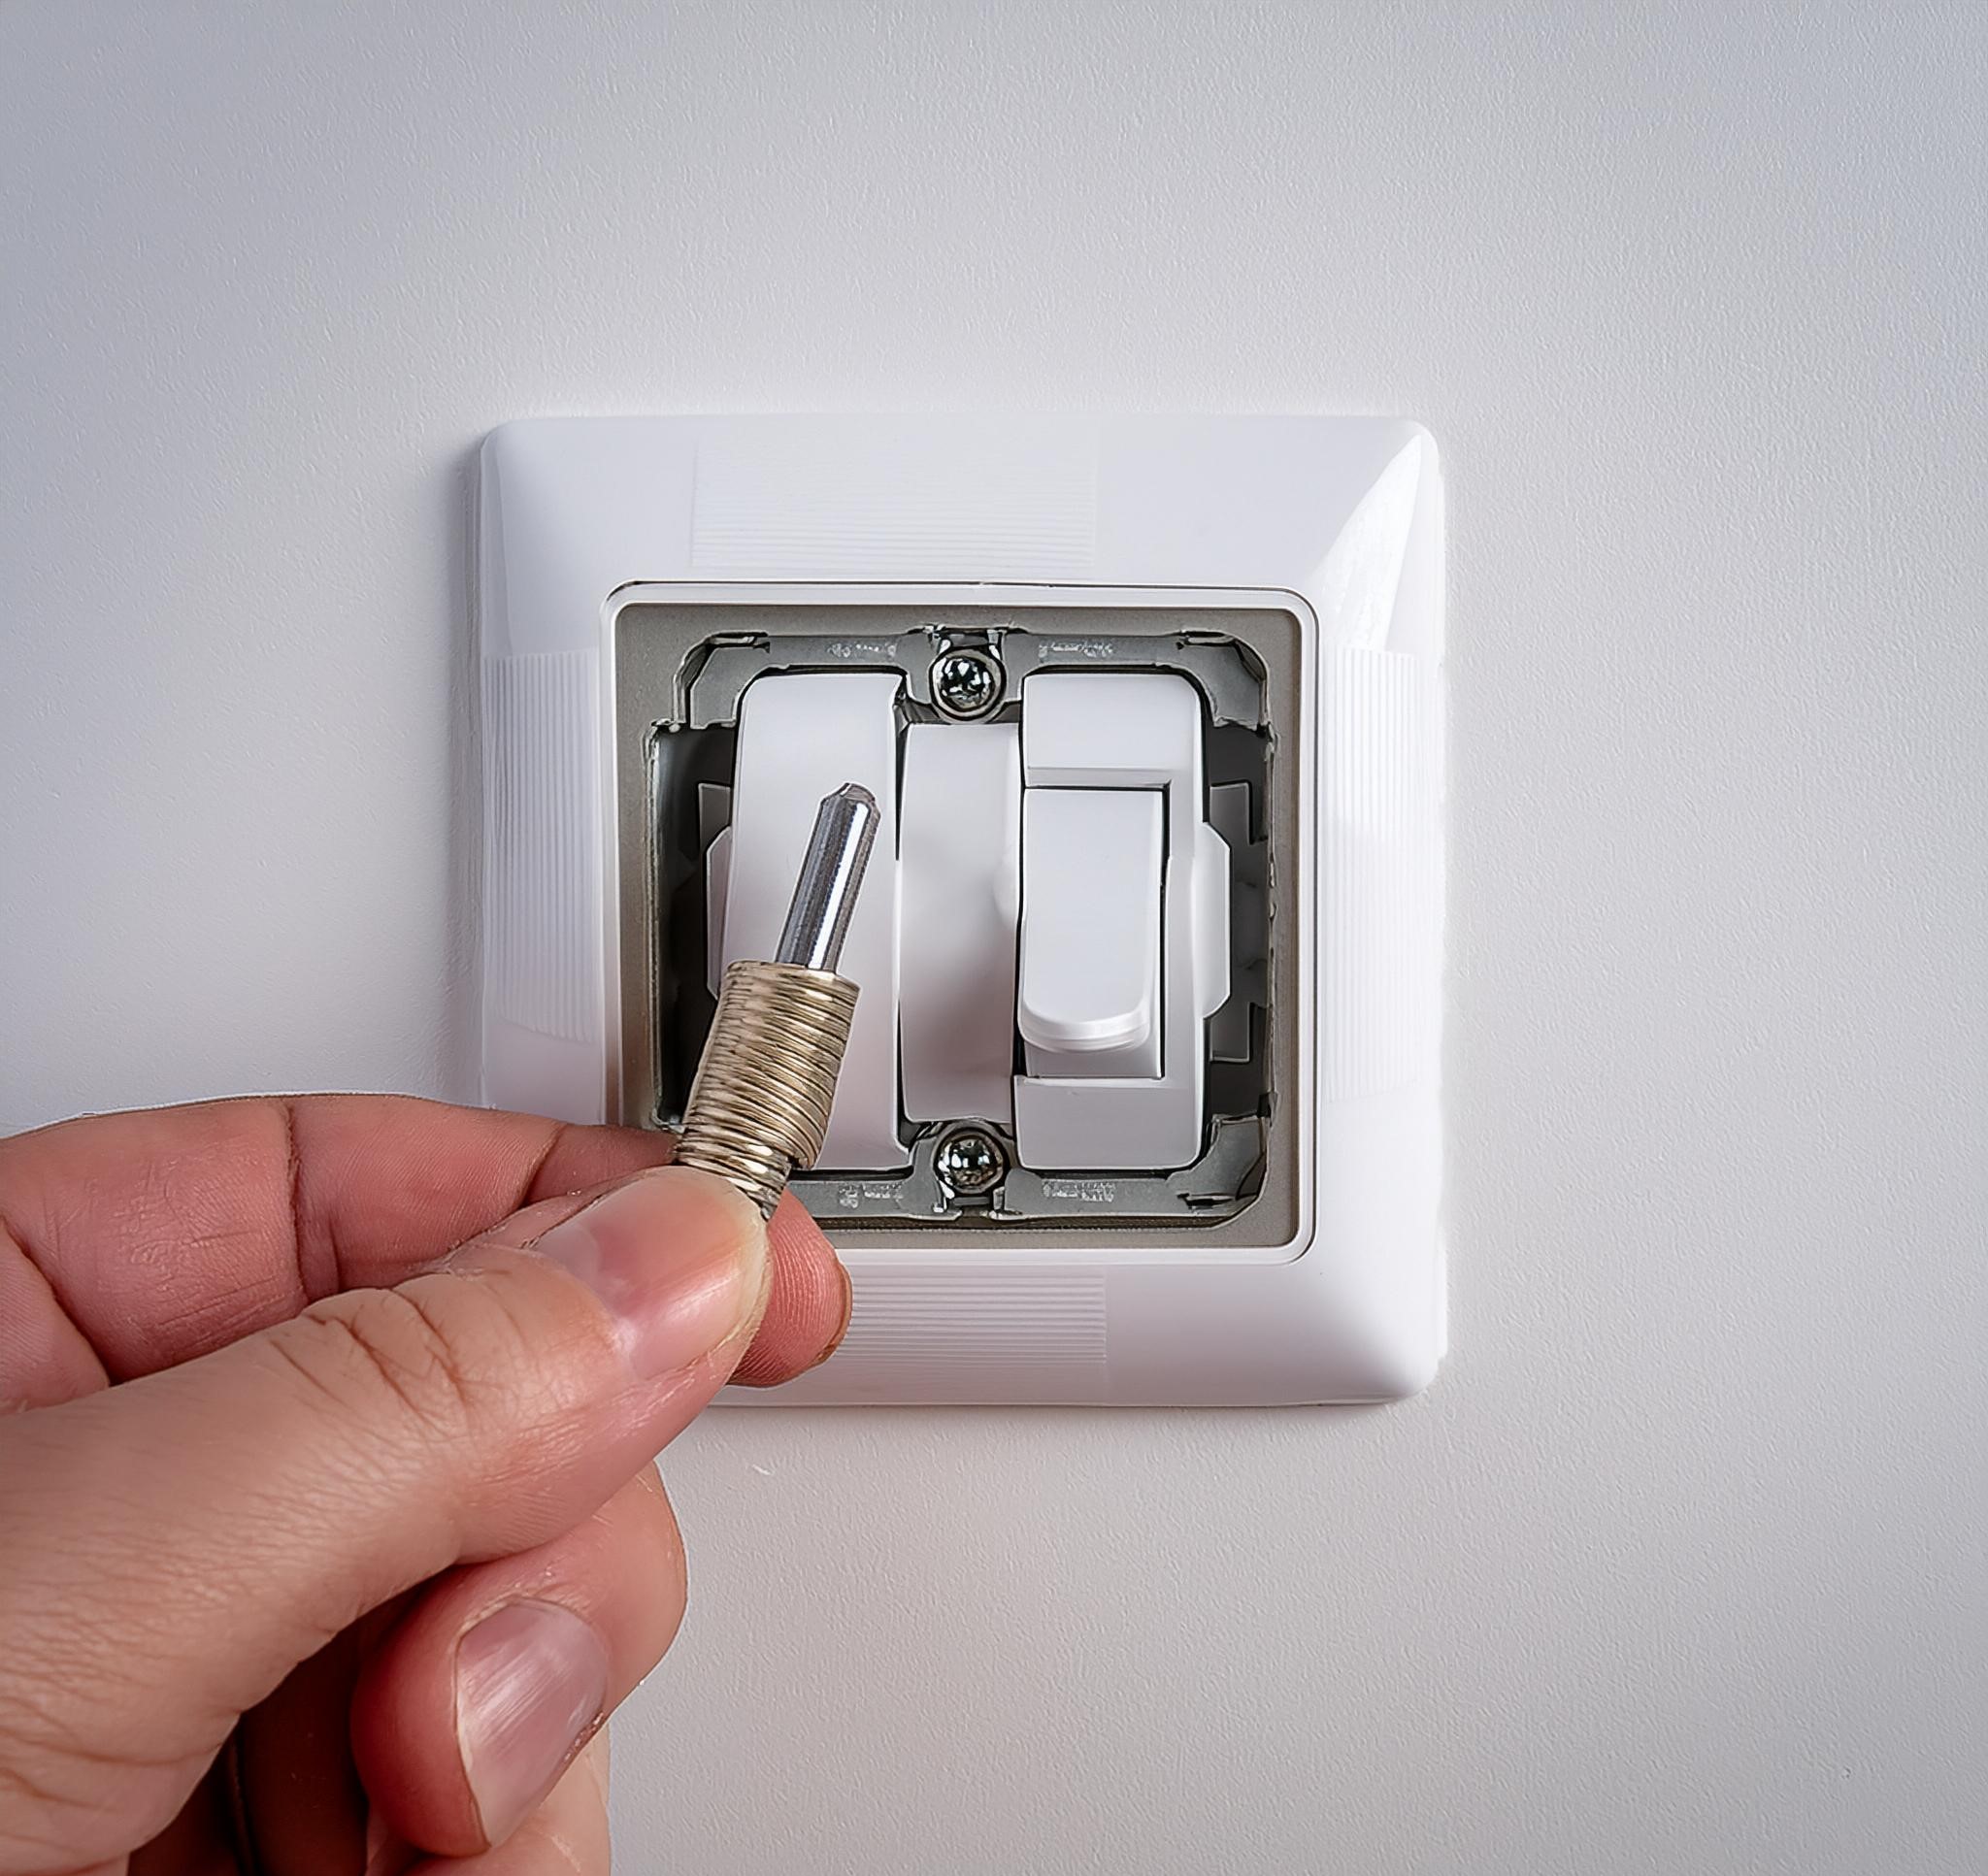
Wiring a light switch is a common DIY home repair that many homeowners tackle themselves. When done correctly, it can save you money and give you a sense of accomplishment. However, it’s crucial to follow proper home maintenance tips to ensure the project is completed safely and successfully. This guide will provide you with essential tips for wiring a light switch, making sure your DIY project is both effective and secure.
Preparation: Gather Your Tools and Materials
Before you begin wiring your light switch, gather the necessary tools and materials to ensure a smooth process:
-
Screwdrivers (flathead and Phillips)
-
Wire stripper and cutter
-
Voltage tester
-
New light switch
-
Electrical tape
-
Wire nuts
-
Pliers
Home Maintenance Tip:
Ensure all tools and materials are in good working condition to avoid complications during your project.
Safety First: Turn Off the Power
-
Turn Off the Circuit Breaker: Locate your home’s electrical panel and turn off the circuit breaker that controls the light switch you’ll be working on. This is the most critical step to prevent electrical shocks.
-
Test for Power: Use a voltage tester to confirm that the power is off before touching any wires. This step ensures your safety and helps avoid any electrical hazards.
DIY Guide:
-
Always double-check that the power is off to avoid any surprises during your project.
Remove the Old Switch
-
Remove the Switch Plate: Use a flathead screwdriver to remove the screws holding the switch plate in place. Carefully pull off the plate to expose the switch.
-
Disconnect the Wires: Loosen the screws holding the wires to the old switch. Carefully disconnect the wires and remove the old switch from the electrical box.
Home Maintenance Tip:
Take note of how the wires are connected to the old switch. This will help you replicate the connections on the new switch.
Prepare the Wires
-
Inspect the Wires: Check the wires for any damage or fraying. If you find any issues, cut back the damaged portion and strip about ¾ inch of insulation from the end of each wire.
-
Twist-On Wire Connectors: Use wire nuts to connect any loose or frayed wires, ensuring a secure and reliable connection.
DIY Guide:
-
Properly strip and prepare wires to ensure they make a solid connection with the new switch.
Install the New Switch
-
Connect the Wires: Attach the wires to the new switch. Typically, you’ll connect the black (hot) wire to the brass or black screw, the white (neutral) wire to the silver screw, and the ground wire to the green screw. Tighten the screws securely.
-
Secure the Switch: Gently push the wires back into the electrical box and position the switch. Use the screws provided to secure the switch to the box.
Home Maintenance Tip:
Ensure all connections are tight and no wires are exposed to avoid potential electrical issues.
Reattach the Switch Plate and Test
-
Reattach the Switch Plate: Place the switch plate back over the switch and secure it with screws.
-
Turn On the Power: Switch the circuit breaker back on and test the new switch to ensure it functions correctly.
DIY Guide:
-
If the switch doesn’t work as expected, turn off the power and check your connections. Ensure all wires are securely attached.
Additional Tips for Success
-
Use the Right Tools: Using the correct tools, such as insulated screwdrivers and wire strippers, will make the job easier and safer.
-
Follow Manufacturer Instructions: Always follow the manufacturer’s instructions for the new switch to ensure proper installation and function.
-
Consult a Professional if Needed: If you encounter any difficulties or feel unsure about the wiring process, consider consulting a professional electrician for assistance.
Home Maintenance Tip:
-
Don’t hesitate to seek professional help if you’re not confident in your electrical skills.
FAQs
1. What is the purpose of a light switch?
A light switch controls the flow of electricity to a light fixture, allowing you to turn the light on or off as needed.
2. Can I install a dimmer switch in place of a standard switch?
Yes, you can replace a standard switch with a dimmer switch. Ensure the dimmer switch is compatible with your light bulbs and follow the installation instructions carefully.
3. How do I know if the wires are connected correctly?
Test the new switch after installation to ensure it operates as expected. Double-check connections if the switch does not work properly.
4. What should I do if the switch doesn’t fit in the electrical box?
If the switch does not fit, ensure it is the correct size for the box. If needed, use a switch plate with a larger opening or adjust the wiring to fit the switch properly.
5. Is it safe to do electrical work myself?
While many people can safely perform basic electrical work, it’s important to follow all safety precautions. If you’re unsure or uncomfortable with electrical tasks, consult a professional electrician.
By following these home maintenance tips for wiring a light switch, you can complete your DIY project safely and successfully. These essential tips and guidelines will help ensure your light switch is installed correctly and functions properly, making your home repairs and upgrades a breeze.