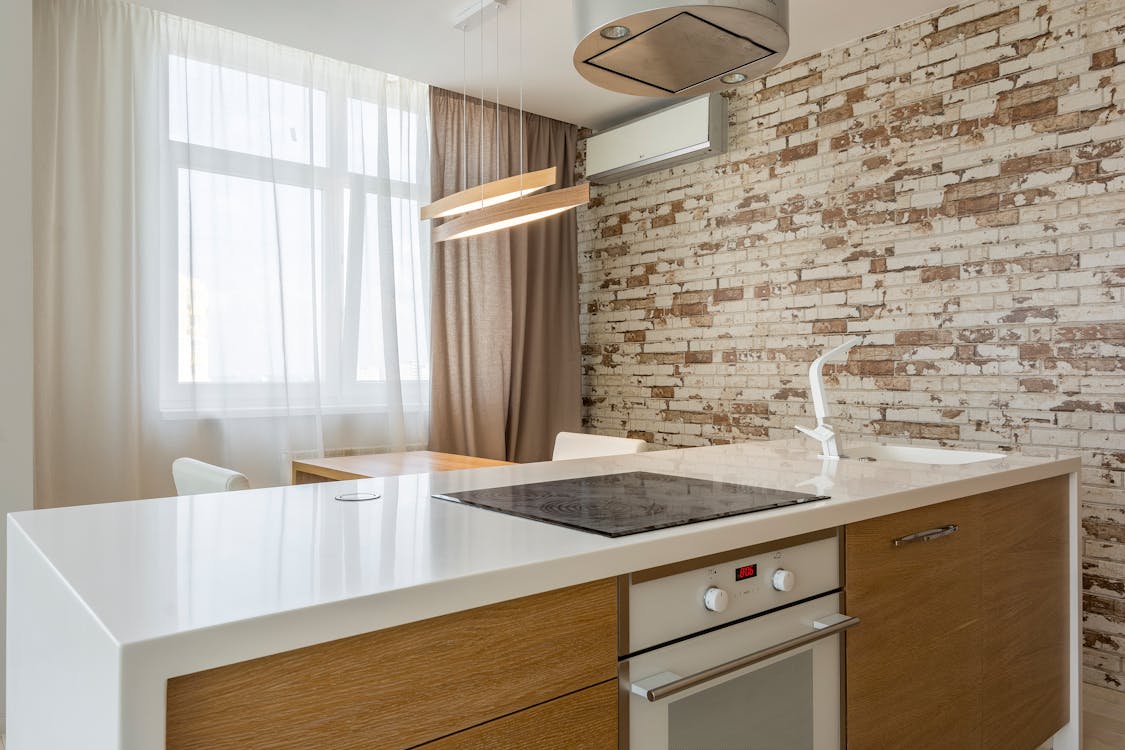
Installing countertops can make your kitchen or bathroom look great. But you need to follow the right steps to do it well. Here is a simple guide to help you with countertop installation.
1. Measure Your Space
First, measure where the countertops will go. Use a measuring tape to determine the dimensions—both length and width. Write down these measurements. Measure along the back wall and any corners. If there’s a sink, measure that space too. This helps ensure your countertops fit perfectly.
2. Choose Your Countertop Material
There are many countertop materials, like granite, marble, quartz, and laminate. Each has various colors and patterns. Granite and marble are strong and beautiful, while quartz is durable and comes in many colors. Laminate is a budget-friendly option with many designs. Choose a material based on your taste and how you’ll use the countertops.
3. Remove Old Countertops
If you have old countertops, you need to take them out. Take out any screws or bolts using a screwdriver. Lift the old countertops carefully. Ask an adult for help if they are heavy.
First, turn off any water supply if you have a sink. Disconnect the sink and remove it. Then, find the screws or bolts that hold the old countertops in place. Unscrew them and carefully lift the countertops off the cabinets. If the countertops are glued, you might need a putty knife to loosen them.

Badger Granite
4. Prepare the Cabinets
Ensure the cabinets are level and sturdy. Use a level tool to check; if they aren’t even, use shims to adjust them. Clean the tops to remove dust and debris, ensuring a good fit for the new countertops.
5. Cut the Countertops
For granite or quartz, hire a professional for precise cutting. If using laminate, you can cut it yourself with a circular saw. Measure carefully and mark the cutting lines before cutting.
6. Dry Fit the Countertops
Before you glue or screw anything, place the countertops on the cabinets to see if they fit. This is called a dry fit. Make sure all pieces fit well and look good. If something is not right, make adjustments.
Place the cut pieces of countertop on the cabinets without attaching them. Check if they fit perfectly. Look for any gaps or uneven edges. If the pieces do not fit well, you might need to trim them a bit. This step is important to ensure that the final installation looks seamless.
7. Apply Adhesive
Once you are happy with the dry fit, it is time to glue the countertops. Use a strong adhesive made for countertops. Apply it directly to the cabinet surface.
Spread the adhesive evenly on the top of the cabinets using a caulking gun. Make sure to cover all areas where the countertop will sit. Carefully place the countertops on the cabinets and press down. The adhesive will hold the countertops in place and keep them secure.
8. Secure the Countertops
After applying the adhesive, secure the countertops with screws or brackets. This makes sure they stay in place. Follow the instructions that come with your countertop material.
In addition to the adhesive, use screws or brackets to hold the countertops firmly. Look underneath the cabinets to find places where you can add screws. Drill pilot holes first to make it easier to insert the screws. Tighten the screws to secure the countertops.
9. Seal the Edges
If you have chosen a stone countertop like granite, you need to seal the edges. This prevents water and stains from damaging it. Use a sealant and follow the directions on the bottle.
Stone countertops are porous, meaning they can absorb liquids. Sealing the edges helps protect the stone. Apply the sealant to the edges and any seams where the countertops meet. Let the sealant dry completely. This step is important to keep your countertops looking nice and clean.
10. Clean Up
After the countertops are installed, clean the area. Wipe away any extra adhesive that has oozed out. Wipe down the countertops with a damp cloth. Your new countertops are now ready to use!
Check for any excess adhesive that might have come out when you pressed down the countertops. Use a putty knife to remove it. Then, use a damp cloth to clean the surface of the countertops. Make sure everything looks neat.
Tips for a Smooth Installation
- Ask for Help: Some countertops are heavy. Having someone help you can be very useful.
- Use the Right Tools: Check that you have all the required tools before starting. This includes a tape measure, screwdriver, level, adhesive, and sealant.
- Take Your Time: Do not rush. Take your time to measure, cut, and fit the countertops. This will help you avoid mistakes.
Conclusion
Installing countertops can be a fun and rewarding project. By following these steps, you can achieve a seamless and beautiful installation. If you need materials, visit a countertop warehouse for a wide selection. Remember to be careful and ask for help when needed. Enjoy your new countertops!