Drywall damage can happen anywhere in your home, whether due to accidents, age, or wear and tear. Cracks, holes, and dents are common issues that not only affect the aesthetics of your home but can also lower its value if left untreated. Many homeowners feel overwhelmed by the idea of repairing drywall, thinking it’s a complex or costly process. However, a simple drywall repair trick has been transforming homes across the country.
In this blog post, we will explore an easy, affordable, and effective method that has helped thousands of homeowners restore their walls, saving them both time and money.
Why Drywall Repair is Crucial for Your Home
Drywall serves as the foundation of your home’s interior structure. When it’s damaged, it can affect the overall appearance and functionality of your living space. A few reasons why drywall fixes is essential include:
- Aesthetic Appeal: Damaged walls can make a space look unkempt and unfinished. Repairing drywall quickly restores a clean, polished look.
- Preventing Further Damage: Untreated holes and cracks can expand over time, worsening the situation. Addressing the damage promptly prevents the issue from growing.
- Increasing Home Value: Well-maintained homes with smooth, intact walls are more appealing to potential buyers and can increase the value of your property.
Common Types of Drywall Damage
Before diving into the simple repair trick, it’s important to understand the types of damage that drywall commonly experiences. Knowing what you’re dealing with helps ensure you choose the right approach for the repair.
Small Holes and Dents
Accidents like furniture bumps or small impacts often cause minor holes or dents in the drywall. These are easy to repair using a patching compound.
Cracks
Cracks are often the result of house settling, temperature changes, or humidity shifts. They can be small and hairline or larger, depending on the cause.
Water Damage
Leaks from plumbing, roofs, or windows can lead to water damage on drywall. This type of damage requires immediate attention to prevent mold growth and further structural issues.
The Secret to Simple Drywall Repair
While professional drywall fixes can be costly and time-consuming, there is an easy, efficient method that has transformed thousands of homes. This trick involves using common materials—spackling paste and a drywall patch kit—to repair holes, cracks, and dents in your walls quickly.
By using the right tools and following a simple process, homeowners can achieve professional-looking results in just a few hours.
Why This Trick Works
- Cost-Effective: Instead of hiring expensive contractors, this method allows you to fix drywall damage on your own, with minimal expense.
- Fast Results: Whether it’s a hole, crack, or dent, this method offers quick and effective repairs that dry in just a few hours.
- Long-Lasting: When done correctly, repairs made with spackling paste and drywall patches will last for years without cracking or peeling.
Step-by-Step Guide to Repairing Drywall Damage
Now that you know what type of damage you’re dealing with and why this repair trick works, let’s break down the step-by-step process to fix drywall imperfections.
Step 1: Clean the Area
Before starting, it’s important to clean the damaged area. Remove any dust, debris, or loose drywall from around the hole or crack. This helps ensure that the compound adheres properly.
Step 2: Apply the Patch or Spackling Paste
For larger holes, use a drywall patch to cover the opening. For smaller holes, apply a layer of spackling paste directly to the damaged area. Be sure to smooth the compound evenly across the surface.
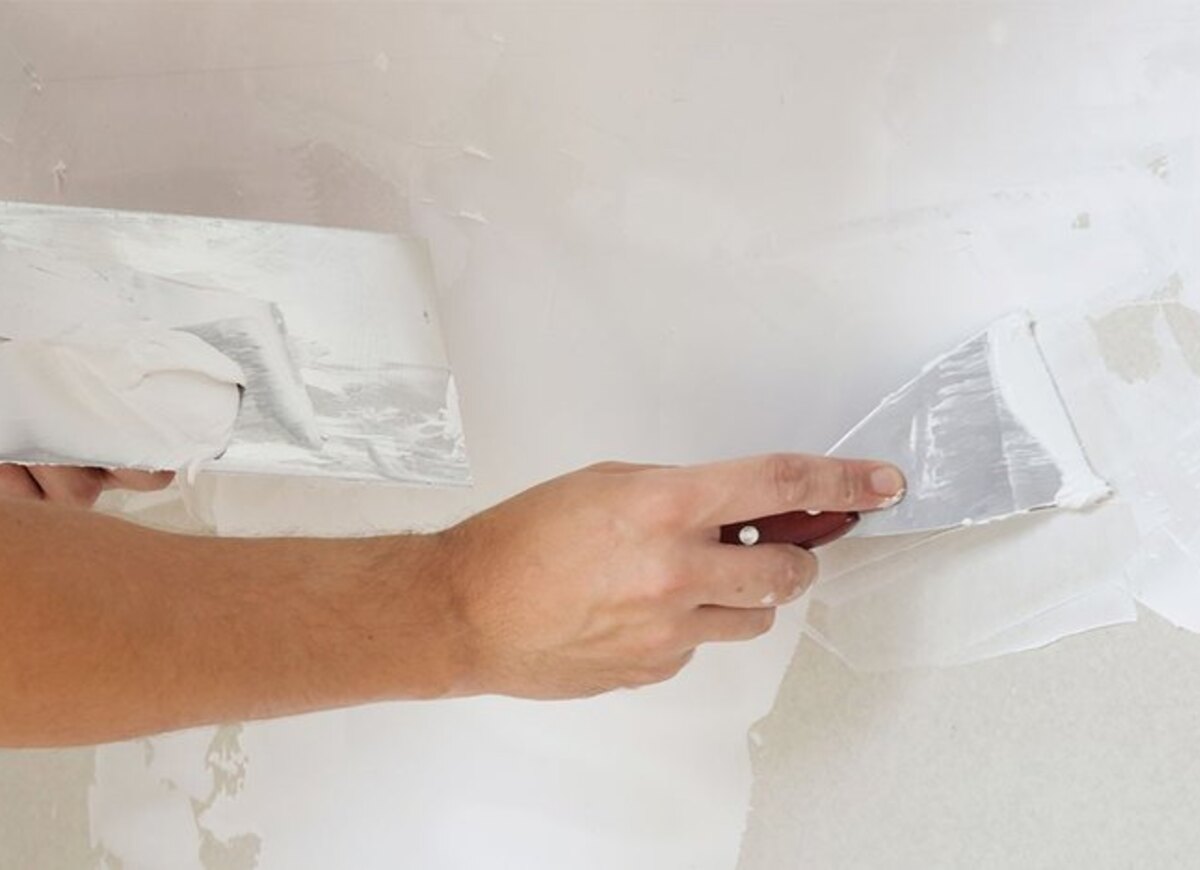
Step 3: Smooth the Surface
After applying the paste or patch, use a drywall knife to smooth the surface and ensure it’s level with the surrounding wall. This step is crucial for achieving a seamless, professional finish.
Step 4: Let It Dry
Allow the patch or spackling paste to dry completely. Drying times can vary, so check the instructions on your specific product. Be patient—rushing this step can lead to poor results.
Step 5: Sand the Surface
Once the compound is dry, use sandpaper to smooth out any rough spots. Sanding the repair ensures that it blends in with the surrounding wall for a smooth finish.
Step 6: Paint the Area
Finally, apply a coat of paint that matches your wall color. Once the paint is dry, you’ll have a perfectly repaired drywall surface that looks as good as new.
Why This Drywall Repair Trick Is a Game Changer
This drywall repair technique is changing the way homeowners approach wall damage. Here’s why it’s a game changer:
Time-Saving
Professional drywall fixes can take several days, as they often require multiple layers of compound and time for each layer to dry. With this method, you can complete repairs in just a few hours, depending on the size of the damage.
Cost-Effective
Hiring a professional to repair your drywall can be expensive, especially if you have multiple areas to fix. By using this simple trick, you save on labor costs and can repair multiple sections of drywall at a fraction of the price.
Easy to Use
You don’t need to be a DIY expert to successfully repair drywall. The materials required are easy to find, and the process is simple enough for any homeowner to follow.
Common Mistakes to Avoid During Drywall Repair
While this method is simple, there are a few mistakes that homeowners commonly make when attempting drywall fix. Avoid these errors to ensure the best results:
Not Preparing the Surface Properly
Failure to clean the damaged area before applying the compound can lead to poor adhesion and an uneven finish. Always prepare the surface first for the best results.
Applying Too Much Compound
It’s tempting to overapply the compound to fill a hole quickly, but this can create a messy surface that requires more sanding. Apply only a thin layer at a time and build it up as needed.
Not Allowing Enough Drying Time
Drywall Fix compounds need time to dry before you can sand or paint. Rushing this step can result in cracking or peeling, so always wait for the compound to dry completely.
Final Thoughts
Drywall repairs don’t have to be a complicated or costly process. With this simple trick, you can restore your walls to their former glory in no time. Whether you’re fixing small holes, cracks, or water damage, this easy method can save you time, money, and stress.
Take action today and transform your home with this easy drywall repair trick!
FAQs
1. How do I fix a hole in my wall?
To fix a hole, clean the edges, apply a patching compound, and smooth it out. Let it dry, then sand and paint for a seamless finish.
2. Can I fix wall damage myself?
Yes, many minor wall fixes can be done DIY with basic tools and materials like patching compound, spackle, and a putty knife.
3. How long does fixing a wall take?
Most small repairs can be completed in a few hours, while larger projects might take a day or two, depending on the damage.
4. What tools do I need for wall patching?
You’ll need a putty knife, sandpaper, joint compound, a paintbrush, and a patch for larger holes.
5. Should I paint over the patched area immediately?
It’s best to wait for the repair to fully dry and sand it smooth before applying paint to ensure the best finish.
6. How can I prevent wall damage in the future?
Use protective covers for furniture and high-traffic areas. Regular maintenance can also help prevent damage from occurring over time.
7. How do I know if I need professional help?
If the damage is large or affecting the structure, or if you’re unsure about doing it yourself, calling a professional might be the best option.
8. How much does it cost to fix a wall?
Costs vary depending on the size of the damage and materials used. Basic fixes can be done for a low price, while more extensive repairs may be pricier.
9. How can I fix cracks in my walls?
To fix cracks, clean out debris, apply a crack filler or compound, then smooth and sand it once dry for a flawless finish.
10. Can I fix textured walls myself?
Yes, textured walls can be repaired using a compound designed for texture or by using a brush to recreate the pattern after fixing the damage.