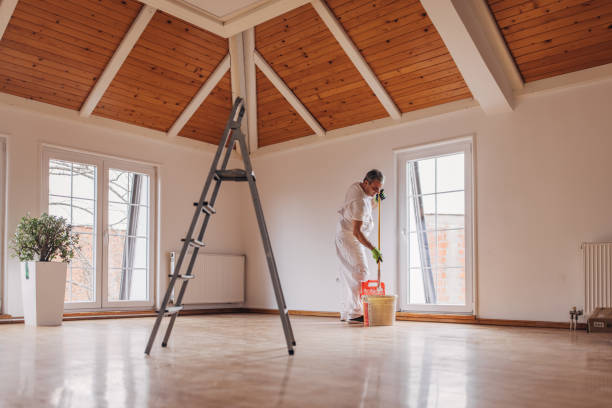
Interior painting in Lasalle, CO, can be a rewarding do-it-yourself project that revives the vibe of your home. To get you started, a beginner’s guide is provided here:
1. Planning:
- Pick a Color: Pick the colors you want to use in each room. Take into consideration things like the size of the room, the amount of natural light, and the decor that is already there.
- Assemble Supplies: Buy great paint, brushes, rollers, painter’s tape, drop fabrics, a paint plate, and a stepping stool.
2. Preparation:
- Clear the Space: Cover the furniture with plastic or move it to the center of the room.
- Clear walls: Using a solution of mild detergent, clean the walls of grease, dust, and dirt. Allow them to fully dry.
- Fix the surfaces: fill openings and breaks with spackling compound, then sand them smooth once dry. Fill in the spaces around baseboards and trim with painter’s caulk.
3. Protection:
- Safeguard Floors and Installations: Cover fixtures with plastic or painter’s tape and place drop cloths on the floor to protect them.
- Cover-up areas: Mask off the trim, baseboards, ceilings, and any other areas you don’t want to paint with painter’s tape.
4. Priming:
- Use of the Primer: If you are painting over a surface that has stains or a dark color, you should prime the walls first. Primer provides a uniform base and improves paint adhesion.
5. Painting:
- In the Detail: Apply paint with care where rollers are unable to reach by cutting in along edges and corners with a brush.
- Rolling: Paint the larger areas of the wall with a roller. Starting at the top, work your way down in sections, slightly overlapping each section to ensure even coverage.
- Technique: Fill in the gaps with paint in the shape of a “W” or “M” to ensure consistent coverage. To avoid drips and splatters, do not overload the roller.
6. Recoating and drying:
- Time to Dry: Before applying the second coat, follow the manufacturer’s instructions to ensure that the first coat has completely dried.
- Sand between coats: Before applying the subsequent coat, lightly sand the walls with fine-grit sandpaper to smooth out any flaws.
- Coats Additional: For full coverage and depth of color, you may need multiple coats, depending on the color and finish you want.
7. Clean-Up:
- Clean Equipment: Use soap and water or as directed by the paint manufacturer to clean brushes, rollers, trays, and other painting tools.
- Strip the Tape: To avoid peeling, carefully remove the painter’s tape while the paint is still slightly tacky.
8. The final touches:
- Reinstall Appliances: After the paint has completely dried, take off any plastic covers and put furniture and fixtures back in place.
- Touch-ups: Check the walls for any missing spots or flaws and make any necessary repairs.
Tips:
- Work in an area with good ventilation.
- Take breaks to ensure accuracy and avoid exhaustion.
- Do not hurry the procedure; persistence prompts improved results.
- Before choosing a color, try it out on a few small areas or test patches.
- You can transform your space and achieve professional-looking results by following these steps and advice.