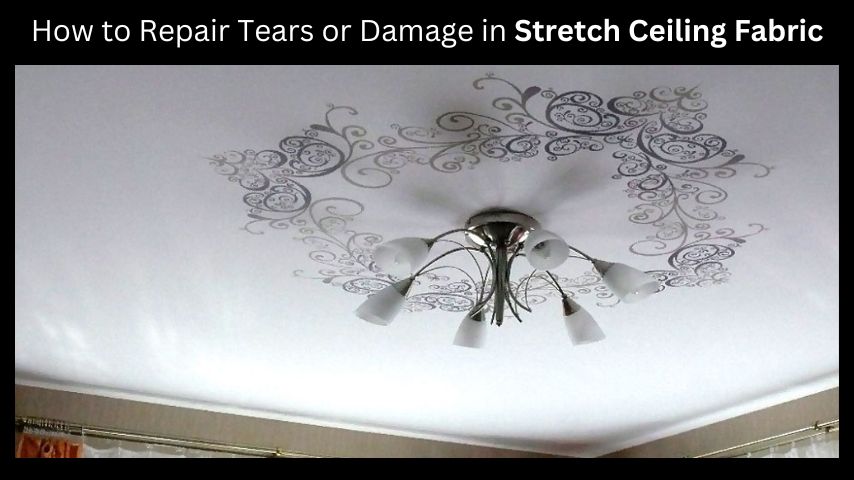
Stretch ceiling fabric is a popular choice for modern homes and offices due to its sleek look and versatility. However, like any other material, it can get damaged over time. Whether it’s a small tear or a significant hole, knowing how to repair these damages can save you time and money. This guide will help you understand the steps to fix tears or damage in your stretch ceiling fabric, ensuring it looks as good as new.
NOTE: Don’t let tears or damage in your stretch ceiling fabric ruin the look of your space. Contact our professional repair team today to get expert help and ensure your ceiling looks as good as new!
Understanding Stretch Ceiling Fabric
What is Stretch Ceiling Fabric?
Stretch ceiling fabric is a type of suspended ceiling that consists of a lightweight, flexible membrane stretched over a frame. This material is durable, easy to maintain, and available in various colors and finishes. It can cover imperfections, wires, and pipes, providing a clean and modern look to any space.
Common Causes of Damage
Damage to stretch ceiling fabric can occur due to various reasons:
- Sharp Objects: Accidental contact with sharp objects can cause tears.
- Heat: Excessive heat from light fixtures or other sources can weaken the fabric.
- Aging: Over time, the material may become brittle and more prone to damage.
- Installation Errors: Poor installation can lead to tension issues and eventual tears.
Assessing the Damage
Inspect the Area
Before starting the repair, carefully inspect the damaged area. Determine the size and nature of the tear or hole. Small tears are usually easier to fix, while larger damages might require professional help.
Gather Necessary Tools
Having the right tools on hand will make the repair process smoother. You will need:
- Scissors: For trimming loose threads or edges.
- Adhesive: A strong, flexible adhesive suitable for fabric.
- Patch Material: A piece of stretch ceiling fabric matching the original one.
- Heat Gun: For tightening the fabric after the repair.
Repairing Small Tears
Step-by-Step Guide
Step 1: Clean the Area
Start by cleaning the damaged area with a soft cloth to remove any dust or debris. This ensures that the adhesive will bond properly.

How to Repair Tears or Damage in Stretch Ceiling Fabric
Step 2: Apply Adhesive
Carefully apply a small amount of adhesive to the edges of the tear. Make sure to use a flexible adhesive designed for fabric to ensure a durable repair.
Step 3: Press and Hold
Gently press the edges of the tear together and hold them in place until the adhesive sets. This may take a few minutes, so be patient.
Step 4: Heat Treatment
Once the adhesive has dried, use a heat gun to gently warm the area. This will help tighten the fabric and make the repair less noticeable. Be cautious not to overheat the material.
Repairing Larger Tears or Holes
Step-by-Step Guide
Step 1: Trim the Edges
For larger tears or holes, start by trimming any loose threads or jagged edges around the damage. This will make the patching process easier.
Step 2: Cut a Patch
Cut a piece of stretch ceiling fabric slightly larger than the damaged area. Ensure the patch matches the color and texture of the original fabric for a seamless repair.
Step 3: Apply Adhesive to the Patch
Apply a generous amount of adhesive to the back of the patch. Make sure to cover the entire surface evenly.
Step 4: Attach the Patch
Carefully place the patch over the damaged area, pressing it firmly into place. Smooth out any wrinkles or bubbles to ensure a tight bond.
Step 5: Heat Treatment
After the adhesive has set, use a heat gun to gently warm the patched area. This will help the patch blend with the surrounding fabric, making the repair less noticeable.
Preventing Future Damage
Use Protective Measures
To prevent future damage to your stretch ceiling fabric, consider the following protective measures:
- Avoid Sharp Objects: Keep sharp objects away from the ceiling to avoid accidental tears.
- Control Heat Sources: Ensure that light fixtures and other heat sources are not too close to the ceiling fabric.
- Regular Maintenance: Regularly inspect and clean your stretch ceiling to catch and address any potential issues early.
Professional Help
For extensive damage or if you are unsure about the repair process, it’s best to seek professional help. Experts have the tools and experience to handle large repairs and ensure your stretch ceiling fabric looks perfect.
Conclusion
Repairing tears or damage in stretch ceiling fabric is a manageable task with the right tools and techniques. Whether it’s a small tear or a larger hole, following these steps can help you restore your ceiling to its original condition. Remember, regular maintenance and taking preventive measures can go a long way in keeping your stretch ceiling fabric in top shape.
For more insightful articles related to this topic, feel free to visit bizbuildboom.