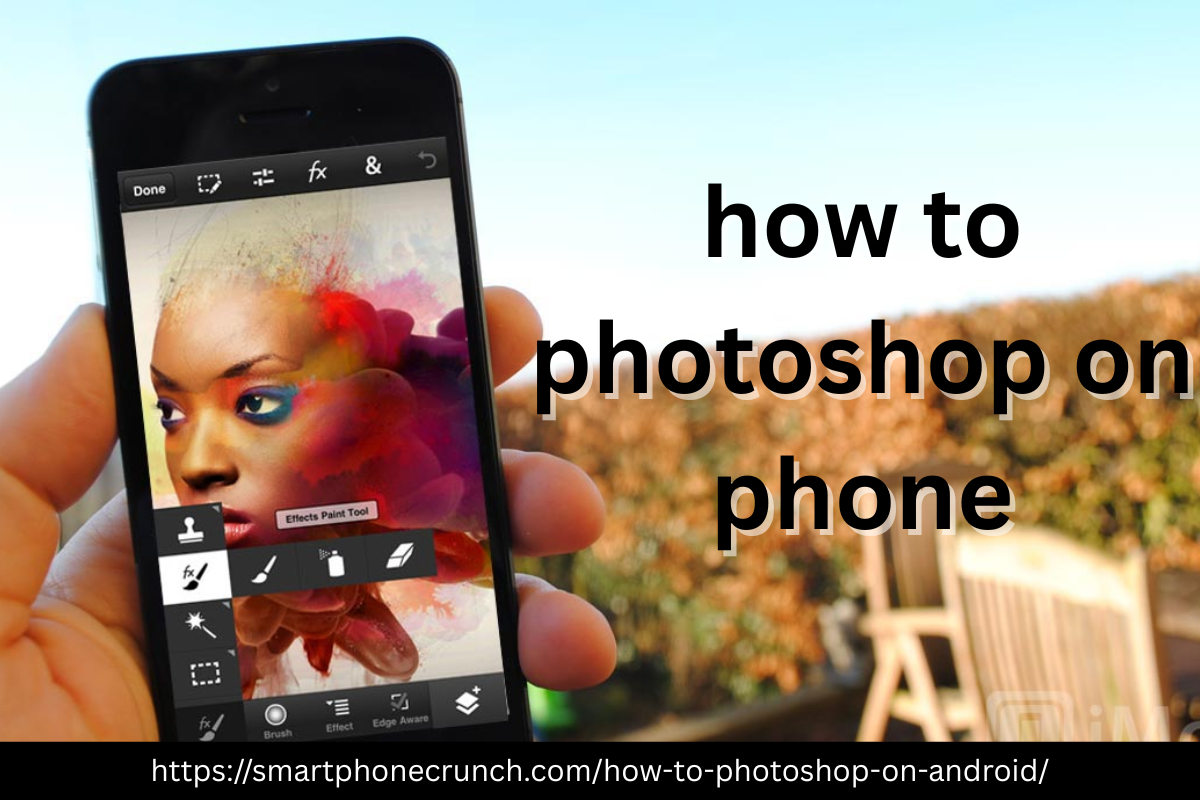
Gone are the days when professional photo editing was limited to high-end desktop software. Today, anyone with a smartphone can create stunning, polished photos—thanks to powerful mobile apps. Whether you’re looking to fix blemishes, adjust lighting, or create social media-ready visuals, learning how to Photoshop on phone has never been easier.
In this guide, we’ll walk you through the best apps to use, essential features to master, and step-by-step tips to help you edit photos like a pro—right from your mobile device.
Why Edit Photos on Your Phone?
Before diving into the how, let’s talk about the why. Smartphones are now equipped with high-quality cameras, often rivaling traditional DSLRs for everyday photography. However, even the best shots can benefit from a little editing.
Mobile photo editing offers several advantages:
-
Convenience: Edit your photos anytime, anywhere.
-
Speed: Quick touch-ups before posting to social media.
-
User-friendly tools: Most apps are intuitive and designed for all skill levels.
-
Creative control: Apply filters, remove unwanted objects, tweak lighting and colors—all from your phone.
Best Apps to Photoshop on Phone
If you’re wondering how to “Photoshop” on your phone, you don’t need the full desktop Adobe Photoshop software. Instead, there are several mobile-friendly apps that deliver powerful editing tools similar to Photoshop.
1. Adobe Photoshop Express
One of the most popular apps for mobile photo editing, Adobe Photoshop Express brings the best of Photoshop to your phone in a streamlined format.
Key Features:
-
One-touch filters and effects
-
Crop, rotate, and straighten tools
-
Spot healing for blemishes and distractions
-
Text overlays and borders
-
RAW photo support
Available for both iOS and Android, this app is perfect for beginners and experienced users alike. It offers a mix of manual controls and automatic enhancements.
2. Snapseed
Developed by Google, Snapseed is another powerful and free editing app for mobile.
Key Features:
-
Selective editing tools
-
Healing tool for removing objects or blemishes
-
Brush tool for exposure, saturation, and brightness adjustments
-
29+ filters and editing options
-
Professional-level tools like curves, white balance, and HDR
Snapseed is perfect for users who want more control over their edits without needing a subscription or login.
3. Lightroom Mobile
Adobe Lightroom Mobile focuses more on color correction and light adjustments than creative edits. It’s ideal for photographers looking to enhance tone and exposure.
Key Features:
-
Advanced color grading
-
Presets for quick editing
-
Selective adjustments
-
Healing brush and geometry tools (premium)
How to Photoshop on Phone: Step-by-Step Editing Guide
Now that you’ve picked an app, let’s explore the essential steps to editing your photos like a pro on mobile. These techniques work across most editing apps, whether you’re using Photoshop Express, Snapseed, or Lightroom.
Step 1: Start with a Good Base Photo
While editing can improve a lot, starting with a clear, well-lit photo gives you better results. Avoid overly dark or blurry photos when possible.
Step 2: Crop and Straighten
Use the crop tool to frame your subject properly and remove distractions. Straighten the image if the horizon or background looks tilted.
Pro Tip: Stick to rule-of-thirds guidelines for better composition.
Step 3: Adjust Brightness and Contrast
Fine-tune the exposure, brightness, and contrast to balance out the lighting in your photo. These changes can make a flat image more dynamic.
-
Increase brightness to lighten dark photos
-
Add contrast to make the image pop
Step 4: Tweak Colors
Adjust saturation, warmth, and tint to enhance the mood. If your image looks too cool or warm, temperature adjustments can fix it.
-
Use vibrance for a subtle color lift
-
Be careful not to oversaturate—it can make photos look unnatural
Step 5: Use Healing or Retouching Tools
Most apps offer a healing brush or spot removal tool. This is perfect for removing blemishes, dust spots, or even unwanted people in the background.
In Photoshop Express and Snapseed:
-
Zoom in for better accuracy
-
Tap or brush over the imperfection to remove it
Step 6: Apply Filters or Presets (Optional)
Filters can instantly give your photos a cohesive look. Most apps offer a range of filters from vintage to modern. Lightroom also offers presets, which are a more customizable version of filters.
Pro Tip: Apply filters at 50% strength or lower to maintain a natural look.
Step 7: Add Text or Graphics
Want to create social media posts or memes? Use text tools to add captions, quotes, or branding to your images. Apps like Photoshop Express make this easy with customizable fonts and styles.
Step 8: Save in High Quality
Once your photo looks perfect, make sure to export it in high resolution to retain detail and quality—especially if you’re sharing it on Instagram or printing it.
Bonus Tips for Better Mobile Edits
-
Edit in natural light: Avoid editing in dim or overly warm environments for better color accuracy.
-
Zoom in often: Details matter, especially when retouching.
-
Use RAW images: If your phone supports RAW capture, you’ll get more editing flexibility.
-
Experiment: Don’t be afraid to try new tools and features. Practice makes perfect!
Final Thoughts
Learning how to Photoshop on phone doesn’t require expensive software or complicated skills. With apps like Adobe Photoshop Express, Snapseed, and Lightroom Mobile, anyone can turn everyday photos into professional-looking masterpieces.
Whether you’re a casual Instagrammer, aspiring influencer, or mobile photography enthusiast, these tools empower you to edit on the go with precision and creativity. So next time you snap a picture, take a few minutes to polish it up—you might be surprised at just how powerful your phone can be.