Drywall is a fundamental component of modern construction, providing a smooth and even surface for walls and ceilings in homes and commercial buildings. However, achieving a perfectly smooth drywall finish can be a challenging task, particularly for those who are not experienced in drywall installation and finishing. One of the most common materials used to smooth out drywall is joint compound, often referred to as “mud.” This article will explore the various aspects of using joint compound to smooth out drywall, including the types of joint compound, application techniques, and tips for achieving the best results.
Understanding Joint Compound
Joint compound, or drywall mud, is a gypsum-based paste used to finish drywall joints, corners, and surfaces. It comes in several forms, including:
- Pre-mixed Joint Compound: This is ready-to-use and requires minimal preparation. It’s ideal for small projects and patching.
- Powdered Joint Compound: This type needs to be mixed with water. It offers more control over consistency and is preferred for larger projects.
- Quick-setting Joint Compound: Known as “hot mud,” it sets faster than regular joint compound, making it suitable for quick repairs.
Each type of joint compound has its own advantages and is chosen based on the specific needs of the project.
Preparing the Drywall Surface
Before applying joint compound, it’s crucial to prepare the drywall surface properly. This involves several steps:
- Cleaning the Surface: Ensure the drywall is free of dust, dirt, and debris. Use a damp cloth to wipe down the surface.
- Taping the Joints: Use drywall tape to cover the seams between drywall sheets. This reinforces the joints and prevents cracking.
- Priming the Surface: In some cases, applying a drywall primer can help the joint compound adhere better.
Proper preparation ensures a smoother application process and a better final result.
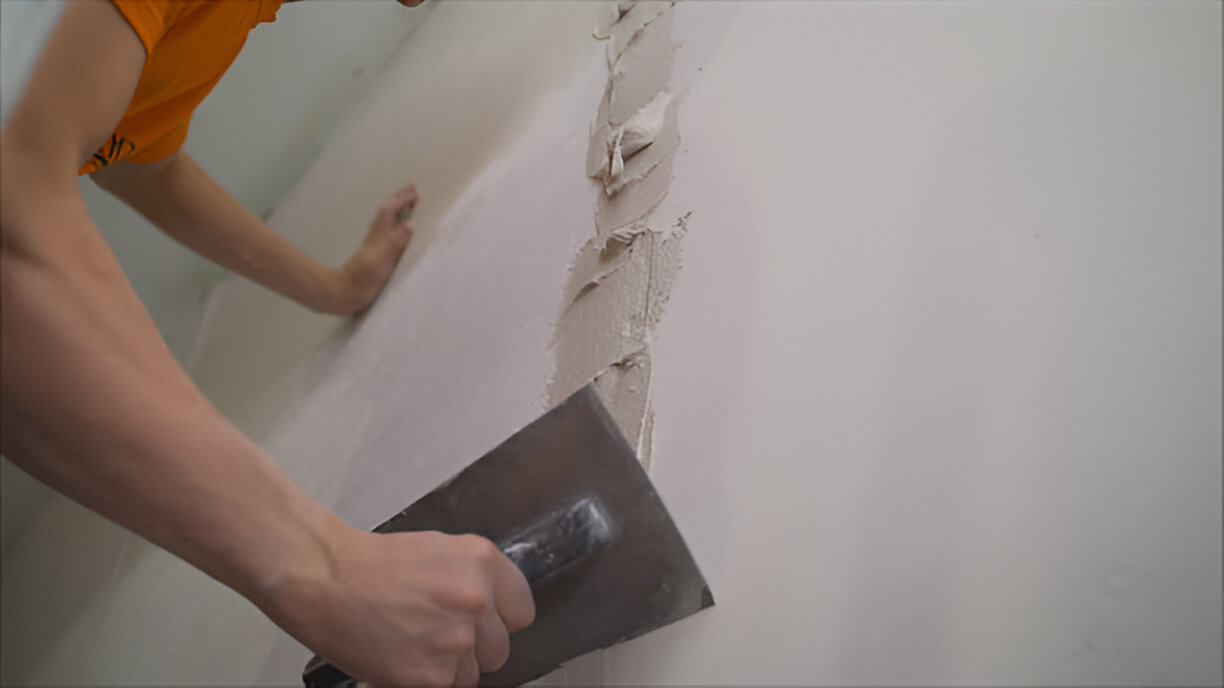
Applying Joint Compound
The process of applying joint compound to smooth out drywall involves several layers or coats. Each coat must be applied carefully and allowed to dry completely before the next one is added. Here are the steps involved:
- First Coat (Taping Coat):
- Apply a thin layer of joint compound over the taped seams and screw holes using a drywall knife.
- Feather the edges to ensure a smooth transition between the compound and the drywall surface.
- Allow the compound to dry completely.
- Second Coat (Filling Coat):
- Apply a wider layer of joint compound over the first coat, extending the edges further out.
- Smooth out the compound with a drywall knife, feathering the edges.
- Let it dry thoroughly.
- Third Coat (Finishing Coat):
- Apply the final coat of joint compound, extending even wider than the previous coat.
- Use a larger drywall knife to ensure a smooth, even finish.
- Allow it to dry completely.
Each coat should be applied thinner and wider than the previous one to blend seamlessly with the drywall surface.
Sanding the Joint Compound
Sanding is a critical step in achieving a smooth drywall finish. Once the joint compound is completely dry, use fine-grit sandpaper (typically 120-150 grit) to sand the surface. Follow these tips for effective sanding:
- Use a Sanding Pole: For large areas, a sanding pole helps maintain even pressure and reach higher spots.
- Work in Circular Motions: Sand in circular motions to blend the edges and avoid creating flat spots.
- Check for Imperfections: Use a bright light to highlight any imperfections or rough spots that need further attention.
Be sure to wear a mask and goggles to protect yourself from dust during the sanding process.
Tips for a Perfect Finish
Achieving a professional-looking finish with joint compound requires patience and attention to detail. Here are some tips to help you get the best results:
- Use Quality Tools: Invest in good-quality drywall knives, sandpaper, and other tools. Cheap tools can result in poor application and more work in the long run.
- Mix Thoroughly: If you’re using powdered joint compound, mix it thoroughly to avoid lumps and ensure a smooth consistency.
- Work in Thin Layers: Applying thin layers of joint compound reduces drying time and the risk of cracking.
- Feather the Edges: Always feather the edges of each coat to blend the compound with the drywall surface seamlessly.
- Be Patient: Allow each coat to dry completely before applying the next one. Rushing the process can result in an uneven finish.
- Prime Before Painting: After sanding, apply a primer before painting to ensure an even and durable finish.
Common Mistakes to Avoid
Even experienced DIYers can make mistakes when working with joint compound. Here are some common pitfalls to avoid:
- Over-sanding: Sanding too much can create low spots and damage the drywall paper. Sand just enough to smooth the surface.
- Applying Too Thickly: Thick layers of joint compound can crack and take longer to dry. Apply thin, even coats.
- Skipping the Primer: Not priming before painting can result in uneven paint absorption and a less durable finish.
- Ignoring Dust Control: Drywall dust can be messy and harmful. Use drop cloths and proper ventilation to control dust.
- Rushing the Process: Patience is key to a smooth finish. Rushing through the steps can lead to poor results.
Conclusion
Using joint compound to smooth out drywall is a fundamental skill for any homeowner or DIY enthusiast. With the right tools, techniques, and patience, you can achieve a professional-looking finish that enhances the appearance and durability of your walls and ceilings. Whether you’re tackling a small repair or a large renovation project, understanding how to work with joint compound will help you achieve the best results and ensure your drywall looks flawless.