If you live in an older home, chances are you might be dealing with a hidden hazard — lead-based paint. Before the 1978 ban on lead paint, many homes were coated with this toxic substance, which can pose serious health risks, especially to children and pregnant women. This makes lead paint removal San Antonio TX and lead abatement critical steps in creating a safe home environment.
But how exactly do you tackle lead removal safely and effectively? This guide breaks down the lead paint removal process into clear, actionable steps for homeowners who want to protect their families and preserve their homes.
What Is Lead Paint Removal and Why Is It Important?
First, let’s clarify what lead paint removal means. This process involves eliminating or containing lead-based paint hazards to reduce exposure to toxic lead dust and chips. It’s part of the broader practice known as lead abatement, which encompasses all strategies to control or remove lead hazards in a building.
Why Should Homeowners Prioritize Lead Removal?
• Health Protection: Lead poisoning can cause developmental issues, learning disabilities, and other severe health problems.
• Legal Compliance: Many regions have laws requiring disclosure and remediation of lead hazards during sales or renovations.
• Home Value: A lead-safe home appeals more to buyers and renters.
• Peace of Mind: Knowing your living space is safe brings invaluable peace.
Step 1: Assessing Lead Paint Hazards in Your Home
Before any lead removal begins, you must identify where the lead paint is.
How Do You Know if You Have Lead Paint?
• Age of the Home: Homes built before 1978 are likely to contain lead paint.
• Visible Signs: Peeling, chipping, or cracking paint on walls, windows, and trim.
• Testing: Use a certified lead inspector or risk assessor who employs X-ray fluorescence (XRF) devices or sends samples for lab testing.
Tip: DIY lead test kits are available but may not be as reliable as professional testing.
Step 2: Choosing the Right Lead Abatement Method
Not all lead paint removal techniques are created equal. The choice depends on the extent of contamination, your budget, and safety concerns.
Common Lead Removal Methods:
• Chemical Stripping: Using solvents or gel removers to dissolve paint.
Best for intricate surfaces.
• Wet Sanding or Scraping: Minimizes dust by keeping the surface damp while removing paint.
Requires protective gear and careful cleanup.
• Encapsulation: Applying a sealant over the lead paint to trap it.
Less disruptive and cost-effective but not a permanent solution.
• Enclosure: Covering painted surfaces with new materials like drywall.
Quick and economical.
• Replacement: Removing and replacing windows, doors, or trim containing lead paint.
Most permanent but costly.
Step 3: Preparing Your Home for Lead Paint Removal
Safety is paramount during lead removal to prevent contamination.
Preparation Tips:
• Seal Off Work Areas: Use plastic sheeting and tape to contain dust.
• Turn Off HVAC Systems: Prevent lead dust from circulating.
• Remove Furniture: Clear the area or cover it with plastic.
• Use Protective Gear: Respirators with HEPA filters, gloves, and disposable clothing.
• Warn Occupants: Children and pregnant women should stay away from the work zone.
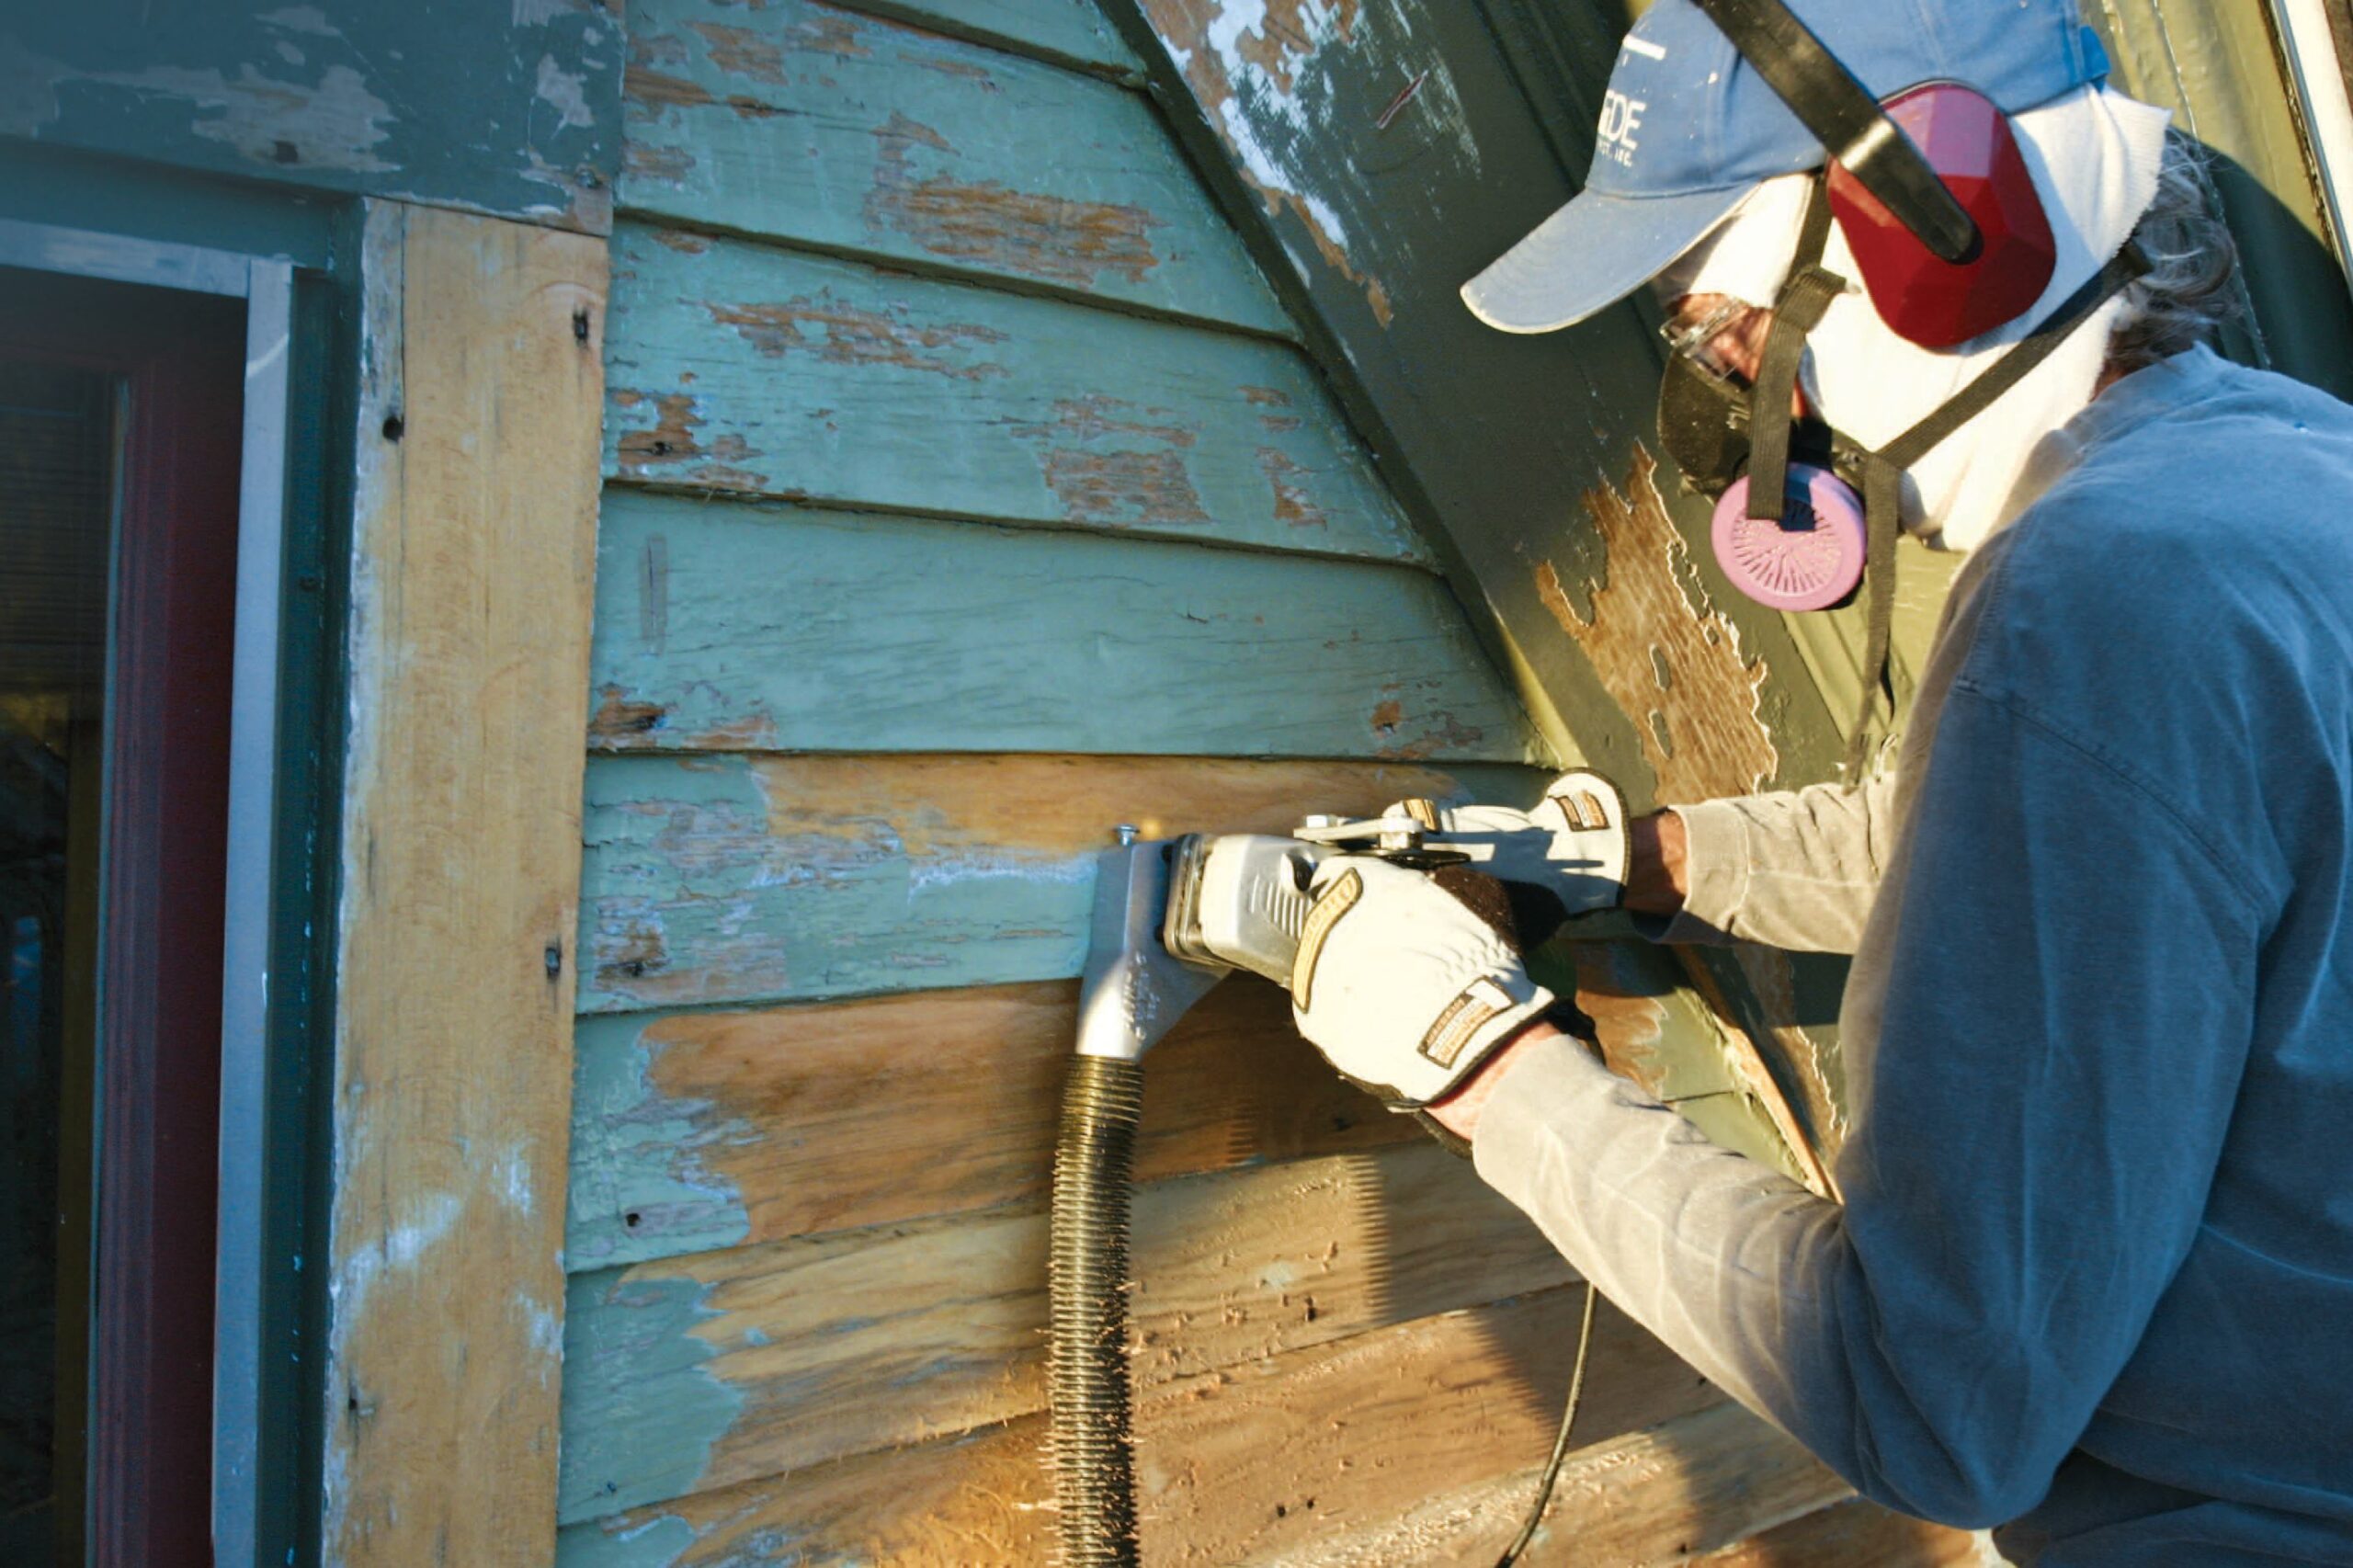
Step 4: Performing Lead Paint Removal Safely
If you decide to do the removal yourself (though professional help is recommended), follow these safety steps carefully:
• Use Wet Methods: Always keep surfaces wet to reduce dust.
• Avoid Open Flame: Never use open flame heat guns, which can vaporize lead.
• Clean Frequently: Use HEPA vacuums and wet wipes to clean dust regularly.
• Dispose Properly: Collect all debris and dispose of it according to local hazardous waste guidelines.
Step 5: Post-Removal Cleanup and Verification
Proper cleanup ensures that no hazardous dust remains.
What Should You Do After Removal?
• Thorough Cleaning: Wash floors, walls, and all surfaces with a trisodium phosphate (TSP) solution or equivalent.
• HEPA Vacuuming: Vacuum all surfaces multiple times.
• Lead Dust Clearance Testing: Hire a professional to conduct clearance tests and verify safe levels.
• Monitor: Periodically inspect for paint deterioration or dust build-up.
Why Consider Professional Lead Abatement Services?
While some homeowners opt for DIY lead paint removal, professionals offer:
• Certified Expertise: They follow EPA and HUD guidelines strictly.
• Advanced Equipment: Specialized tools reduce risk.
• Liability Protection: They manage hazardous waste properly.
• Faster and Safer Work: Minimizes disruption and exposure.
Tip: When hiring, verify certifications and ask for references.
Common Questions About Lead Paint Removal
How Much Does Lead Removal Cost?
Costs vary widely depending on the size of the project and removal methods, ranging from a few hundred dollars for small spots to thousands for whole-home abatement.
Can I Remove Lead Paint Myself?
Small, manageable projects can sometimes be done safely by homeowners if strict safety protocols are followed, but professional removal is generally safer.
How Long Does Lead Abatement Take?
Small projects might take a day or two; full home abatement can take weeks.
Conclusion
Lead paint hazards are a serious concern but can be effectively managed with the right knowledge and precautions. Following this step-by-step guide for lead paint removal ensures you approach lead abatement systematically, reducing health risks and creating a safer home.
Whether you tackle the process yourself with safety in mind or hire professionals, understanding each step — from assessment to cleanup — is essential. Remember, investing in proper lead removal Phoenix AZ not only protects your family’s health but also safeguards your home’s value and your peace of mind.
If you suspect lead paint in your home, don’t wait. Begin with a proper assessment and take action toward effective lead abatement today.
